Everything You Need to Do Before Your Hot Tub or Swim Spa Pad is Installed
Installing a hot tub or swim spa is an exciting addition to any backyard, but before your contractor arrives, proper preparation is essential. A solid foundation ensures your hot tub stays level, stable, and lasts for years without shifting or cracking.
To help you get ready, we’ve put together a step-by-step checklist for homeowners preparing for a hot tub pad installation.
✅ Step 1: Choose the Right Hot Tub Pad Type
Before installation day, you’ll need to decide which type of foundation is best for your hot tub or swim spa. The two most common options are:
1. Concrete Pad (Best for permanent installations)
✔ 4-6 inches thick reinforced concrete
✔ Supports heavy swim spas & large hot tubs
✔ Low maintenance & long-lasting
2. Gravel Pad (Best for temporary or budget-friendly setups)
✔ Compact ¾-inch crushed stone
✔ Allows for natural drainage
✔ More affordable but requires maintenance
💡 Not sure which is right for you? Check out our Concrete vs. Gravel Hot Tub Pad Guide for a detailed comparison.
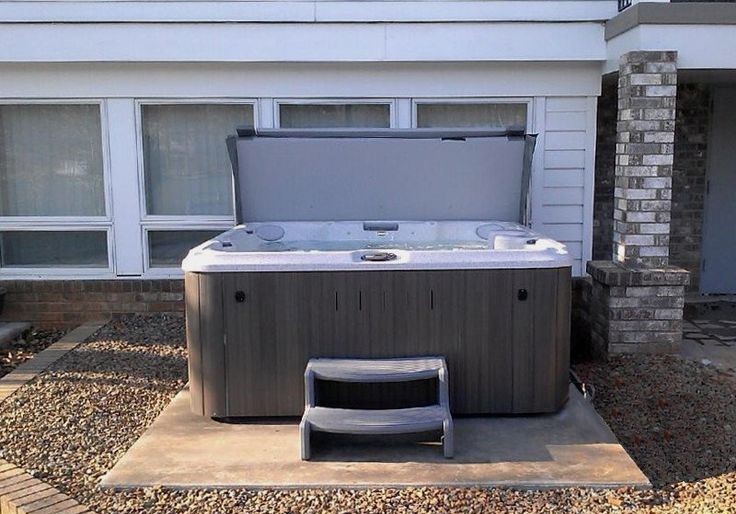
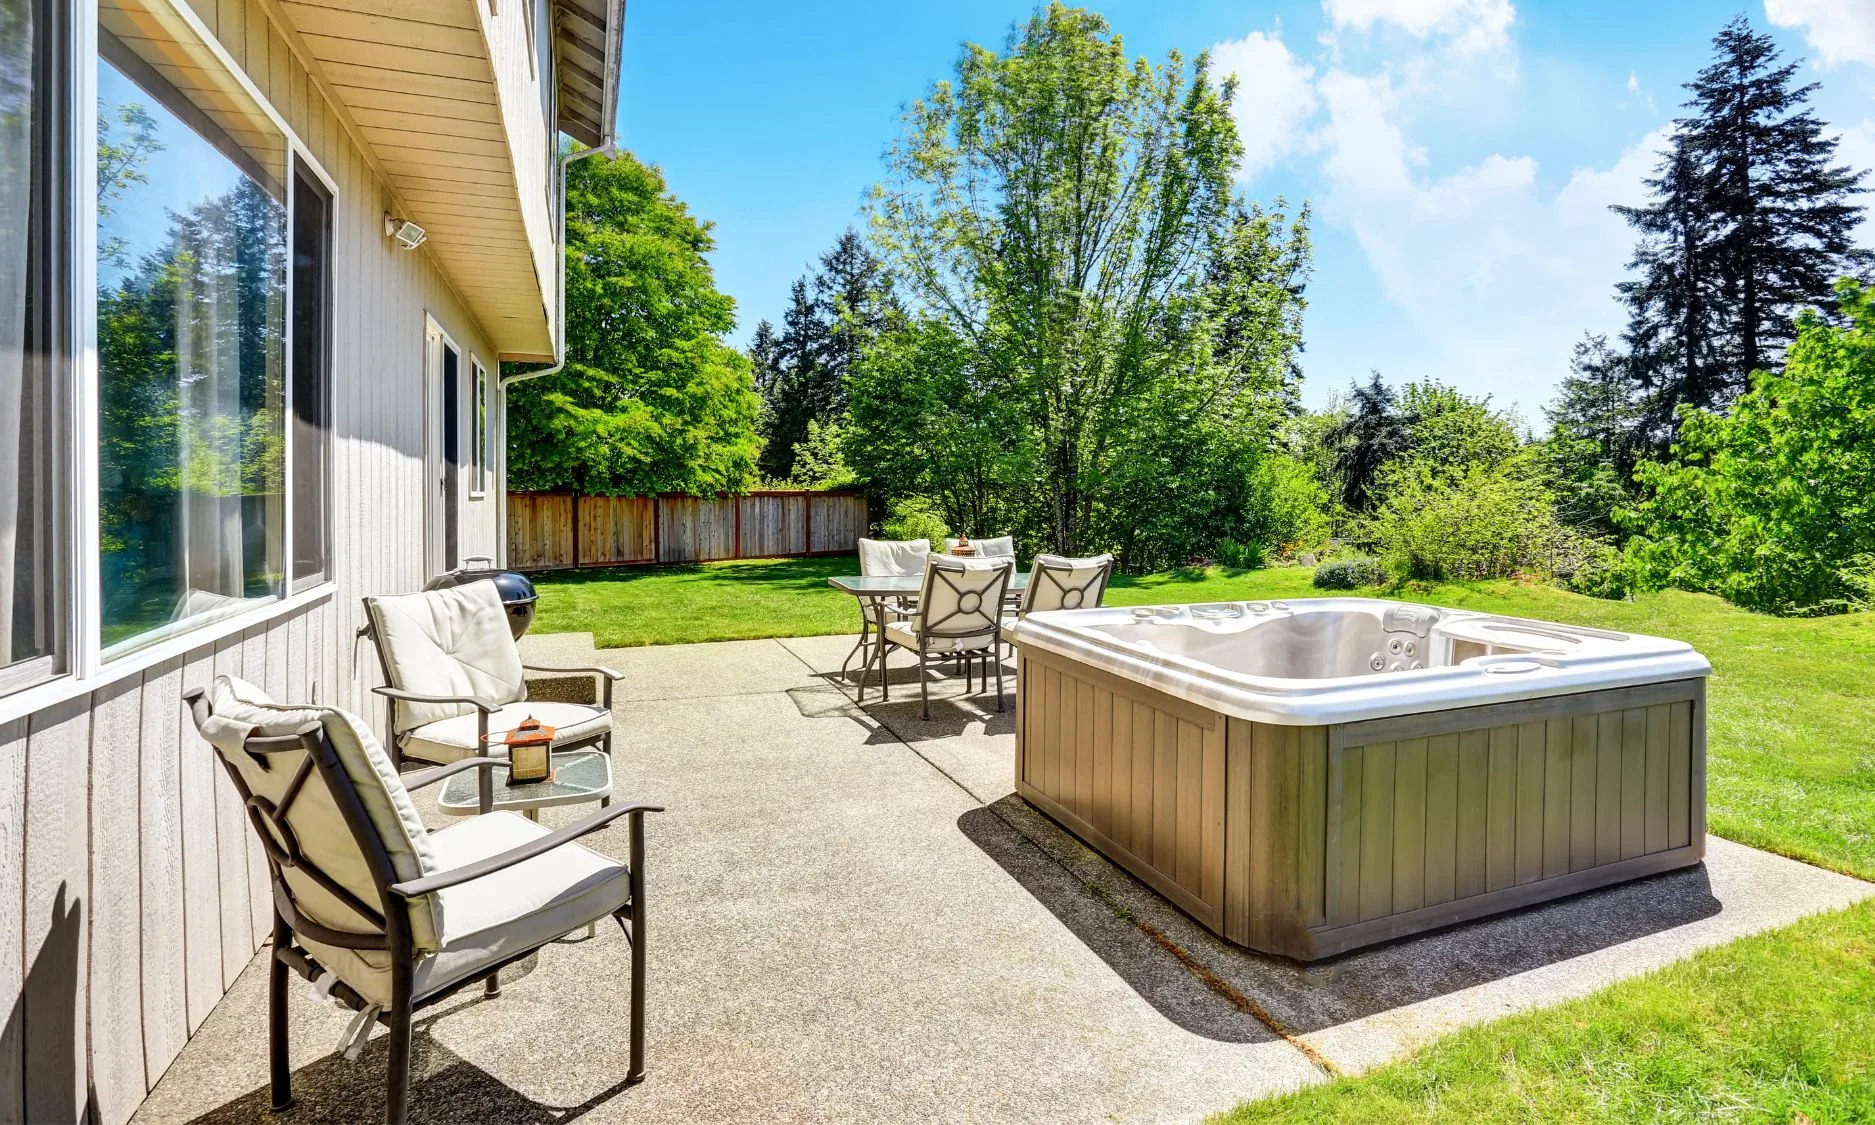
✅ Step 2: Pick the Best Location for Your Hot Tub
The location of your hot tub pad is critical for stability, drainage, and convenience. Here’s what to consider:
✔ Flat, Even Surface – Avoid sloped areas unless you plan for excavation.
✔ Proper Drainage – Choose a spot where water won’t pool around the pad.
✔ Access to Electrical Hookups – Most hot tubs require a 220V GFCI circuit nearby.
✔ Privacy & Wind Protection – Position your spa near fencing, trees, or a privacy screen.
✔ Distance from the House – Ensure easy access but avoid placing it too close to windows (steam can fog them up).
📌 Pro Tip: Check local bylaws for setback regulations on hot tub placement in your area.
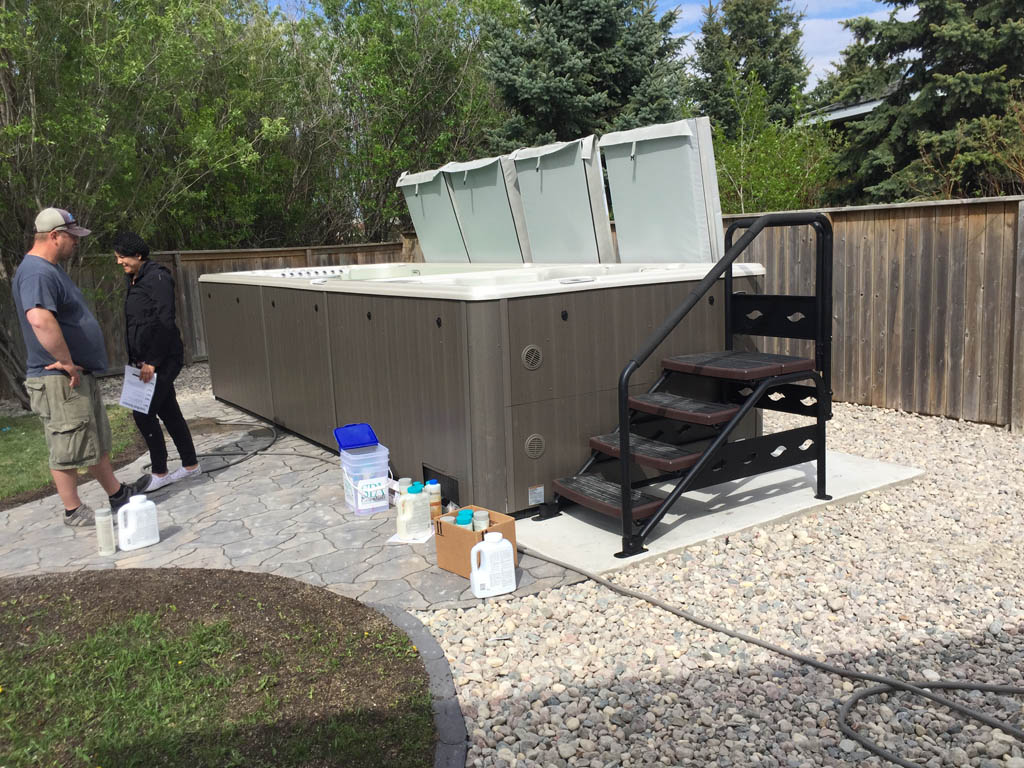
✅ Step 3: Prepare the Site Before Installation Day
A smooth installation depends on proper site preparation.
What to Do Before Your Contractor Arrives:
✔ Clear the Area – Remove patio furniture, plants, and any obstacles.
✔ Mark the Pad Size – Use spray paint or stakes to outline the hot tub pad dimensions.
✔ Check for Underground Utilities – Call Ontario One Call (1-800-400-2255) before digging to locate gas, water, and electrical lines.
✔ Plan for Access – Ensure there’s enough room for construction equipment and for delivering the hot tub.
💡 Need excavation? We provide full site preparation, leveling, and excavation before installing your hot tub pad.
✅ Step 4: Plan for Electrical & Plumbing Needs
Hot tubs require proper electrical and water connections. Work with a licensed electrician to ensure:
✔ A 220V GFCI breaker is installed if required.
✔ Electrical conduit is run before the hot tub arrives.
✔ Your hot tub pad has enough space for maintenance access.
📌 Important: Many hot tub manufacturers void the warranty if installed without a proper electrical setup!
✅ Step 5: Understand the Installation Timeline
A hot tub pad installation typically takes 1-2 days, but here’s what to expect:
1️⃣ Day 1: Excavation & Site Prep – Ground is leveled, and a gravel base is added.
2️⃣ Day 2: Concrete Pouring or Gravel Compaction – Concrete needs 24-48 hours to cure before placing the hot tub.
3️⃣ Final Inspection – Ensure the surface is level and ready for your spa.
🚀 Fast-Track Your Installation: We handle everything from excavation to final leveling to make the process seamless.
✅ Step 6: Get Ready for Hot Tub Delivery
Once your hot tub pad is installed, the next step is getting your hot tub placed and connected.
✔ Confirm the Delivery Date – Ensure your hot tub arrives after the pad is fully cured.
✔ Plan for Heavy Equipment – Some hot tubs require a crane for placement.
✔ Double-Check Weight Capacity – Ensure the pad is strong enough for your hot tub when filled with water and people.
Final Thoughts: A Well-Prepared Hot Tub Pad = Years of Enjoyment
A hot tub is a big investment, and preparing the site correctly ensures your spa stays level, stable, and secure for years to come. By following this checklist, you’ll make the installation process smooth and hassle-free.